

Keylime
-
Content Count
25 -
Joined
-
Last visited
Content Type
Profiles
Media Demo
Forums
Gallery
Calendar
Store
Posts posted by Keylime
-
-
2 hours ago, chariot said:
No need for the cleats. Use the top of the winch drum, that's what it's designed for.
Yea, and it works, but not adjustable while sailing and hard to use while the sheet is tight, the boat heeling and I’m on the opposite side of the cockpit
-
5 hours ago, Fish said:
The random bits on the top of the winch are designed to cleat the rope off to. You can still winch it in when cleated, you just get more turns on the winch. The cam cleats may be faster and easier. but if you are having trouble with them, lock the sheet off on the winch top.
Very hard to use the winch cleats while the sheet is under strain and I’m on the other side of the boat
-
Hi,
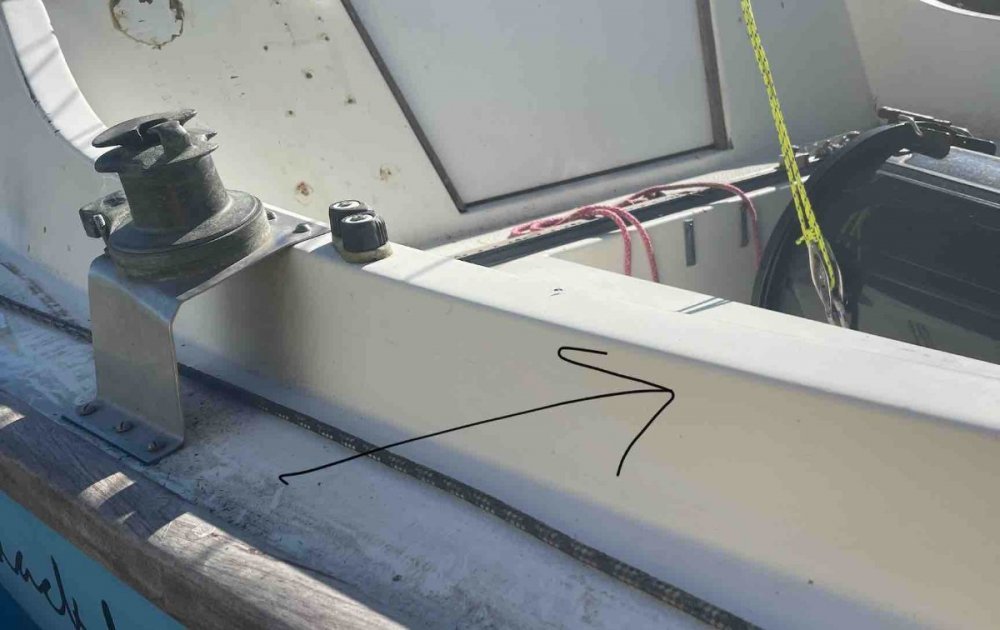
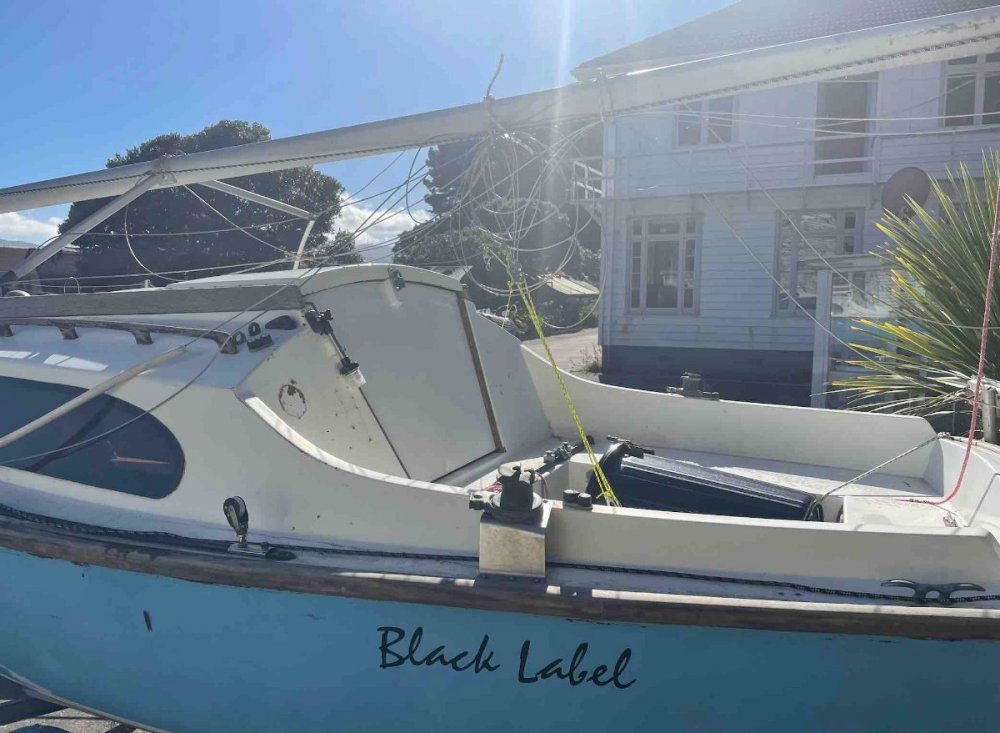
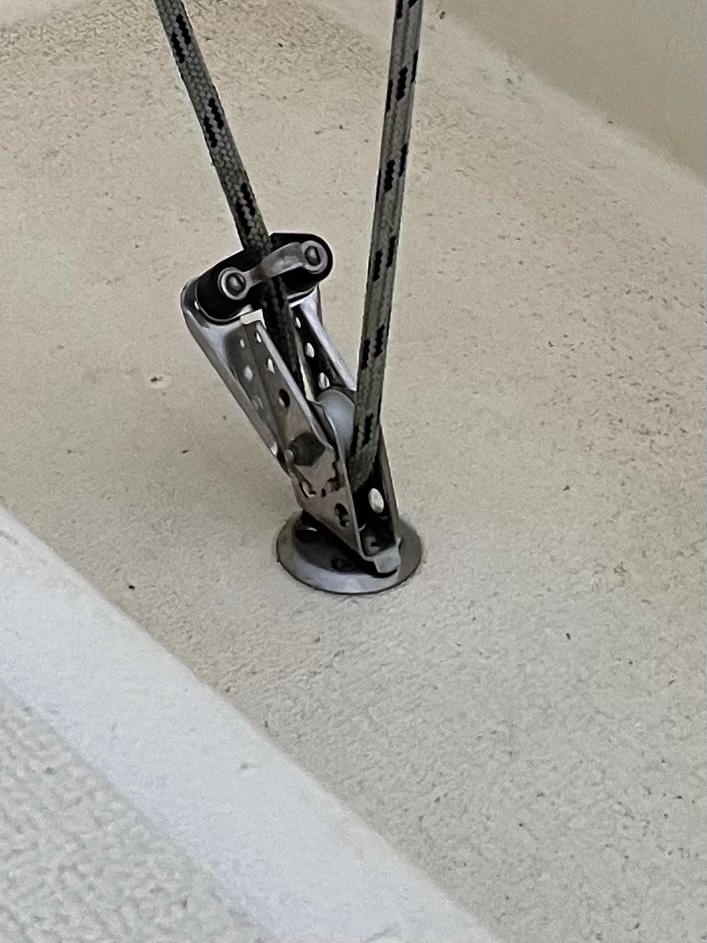
I'm having trouble cleating of the gib lines while sailing in moderate winds on my Tasman 20. The cleat is level with the winch, so when the winch has a few winds in it, it is hard to pull the line down into the cleat. It happens on both sides. I have both winches set up to take the line clockwise - I could change this, but it is still hard to cleat.
See pictures - ignore the arrow on one.
Any thoughts on what to do here? raise the cleats? (might be wobbly) lower the winches? (might be hard to access..)

-
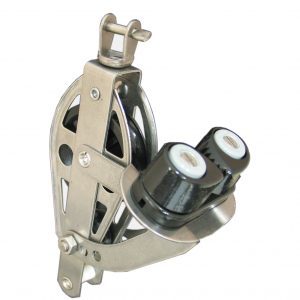
7 hours ago, marinheiro said:
interesting, never heard of Viadana before. The SWL is listed as 140kg, I suggest you find an online calculator (see Harken's web site) to check this would be adequate for your sheet loading
right - it does seem quite low! Too low
-
24 minutes ago, marinheiro said:
there are not many options, this is the nearest I have found for a new fitting with an adequate SWL
Thanks. I got this recommendation on cruisers forum. https://www.velasailingsupply.com/viadana-swivel-base-w-adjustable-ball-bearing/?sku=VIA20.03&gclid=EAIaIQobChMIpKyaip3S8QIVhLaWCh0npQyrEAQYAyABEgJoLPD_BwE
Keen to find something in NZ as shipping atm takes ages.
Good to have a couple of options. Thanks for your post.
-
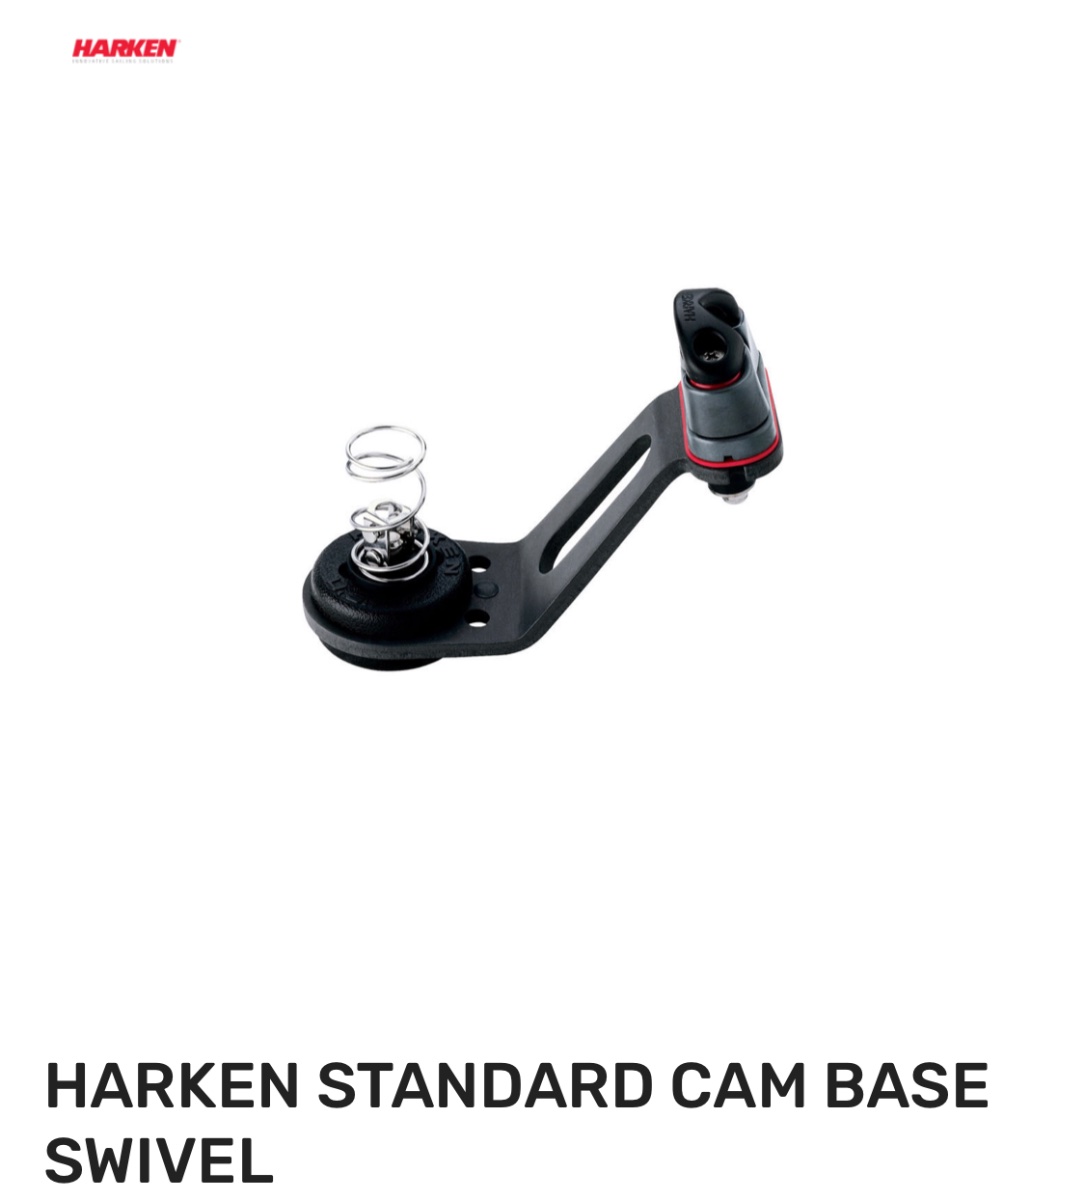
4 hours ago, whitepointer said:
Harken should have something suitable, Fosters are the agent in Auckland
This is what I’ve found from Harken. It’s two-part, and pretty big and chunky
-
4 hours ago, harrytom said:https://www.whitestarproducts.co.nz/collections/boat-fittings/yacht-fittings-cleveco/blocks-sheaves
email them very helpful ,think they are in Avondale now,were Mt Roskill
Close, but I’m looking for a floor mount.
-
thanks - tried those links and still searching.
-
Hi, I’m replacing the main sheet on my Tasman 20, and would like to have a floor mounted block and cleat. Does anyone know where I can find one of these?
-
2 hours ago, lateral said:
Do NOT use acetone, lacquer thinners, MEK on acrylic or polycarb.
It will haze at very least, or craze. Been there done that.
Definitely weakens it.
Abraid it off or rubber stripper wheel. Tape up where you want to remain clear. Use blackout primer after to edge
of rebate/FG on acrylic.
Thanks - I’ll keep away from acetone. Regarding the primer, for the Quilosa ms35 I don’t think it needs a primer, but I was going to etch the acrylic with a kitchen scourer. Is the primer needed for the Butyl tape?
-
3 hours ago, wheels said:
I do suggest the use or turps for cleanup. I have noticed any acrylic that has been wipped with Thinners seems to craze much earlier than acrylics that have not. Maybe it is coincidence, but I have always wondered if thinners may remove something from the Acrylic surface that causes UV to break it down faster.
The issue of using the sticky tape stuff is the UV attacking the Adhesive over a long time and likely causing the tape to release eventually. The Sika products use a paint on stuff that is actually about stopping the UV from attacking the Sealant, not just better adhesion to the acrlyic.I would be removing potentially fragments of what I guess is rubber (butyl?) from the acrylic, and preparing the surface for adhesion to butyl tape, and Quilosa MS35. I was anticipating using acetone to clean up rubber fragments. Better to use turps? (Isn't turps a thinner? What thinner do you not recommend?)
-
On 4/06/2021 at 8:59 AM, alibaba said:
Whichever product you end up using, the key here is to make sure that there is sufficient thickness of bead between the acrylic and the cabin side. This gives the adhesive some ability to move with expansion when the temperature changes. I found the best way to do this was to use glazing tape, available in rolls from Glasscorp, Fit the window to this lining the inside of the cutout on the cabin side. This holds the window in place firmly - really firmly, and then fill the gap with the adhesive. Glasscorp also sell nozzles for the cartridges which can be rotated and bent through various angles, which you WILL need to push the sealant in from the bottom of the window.
cheers
I wondered if you had recommendations on the type of Butyl tap to use? good tip about the angled nozzles
-
On 1/06/2021 at 8:55 AM, Panic Knot said:
+1 on the Quilosa MS35 - really easy to use and works well. Just over 2 cartridges to do both sides.
Nice job! Did you use a glazing tape also? How did you prepare the surfaces?
-
On 6/06/2021 at 8:42 AM, alibaba said:
How much overlap have you got? ie from the inside of the cutout in the cabin side to the outside of the window pane? If you have 20-25 mm, then the best way seems to be to use glazing tape around the cabin side to hold the window on. Then, mask carefully level with the outside of the window, then fill the gap between the glazing tape edge and the top[outside] of the window - hope that is clear. The glazing tape not only holds the window on firmly, it provides a 5mm gap for the adhesive sealant.
There appear to be plenty of different sealants about which would work, but the only one I have used successfully is Dow Corning 795. It's best to give a slight key in the window material, and the easiest way to do this is to use a kitchen scourer - the green ones and just rub the inside edge of the window with it.
I've done two sets of windows - D28 and a Lotus with the above method with not failures.
I found this video that I think explains your method (can watch at double speed)- but with VHB tape. I've seen that butyl tape is recommended over VHB tape - though in this video the VHB tape that failed was being used without a sealant.
-
9 hours ago, wheels said:
Wow, a great example of people not looking before posting. The very answer being in the thread directly below this one.
guilty 😬
-
found these in other forums:
- Sikaflex MS: https://nzl.sika.com/en/46072/sealants-fillers/exterior-joints/walls-and-facades/sikaflex-ms.html
- Fixtech FS200: https://www.seamac.co.nz/new-products/fixtech-fs200-310ml-cartridge-black
- Dow Corning 795: https://www.dow.com/en-us/pdp.dowsil-795-silicone-building-sealant.01595717z.html
- QUILOSA MS35: https://www.glueguru.co.nz/shop/BRANDS/QUILOSA/QUILOSA+MS35+Adhesive+280ml+Cartridges.html
Any preference? Maybe I won't need the bolts?
-
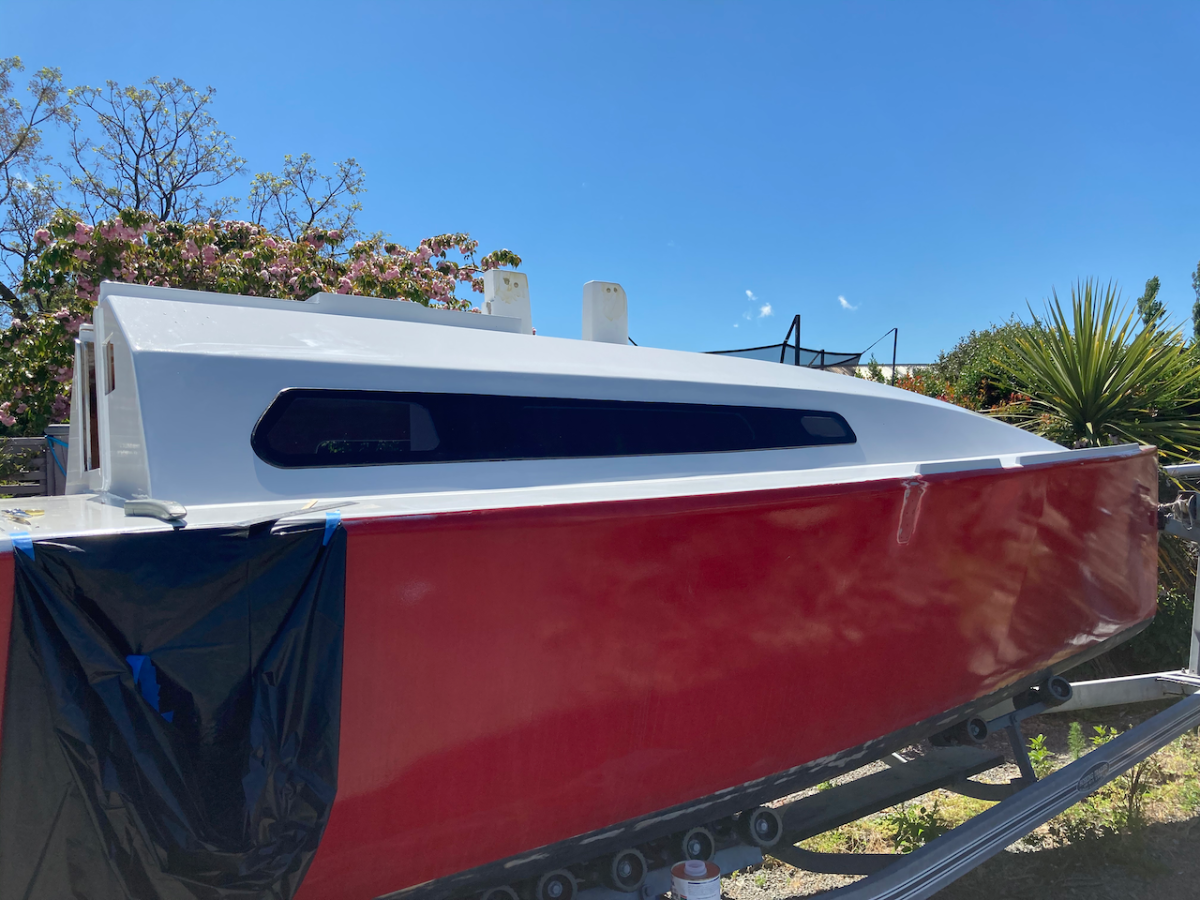
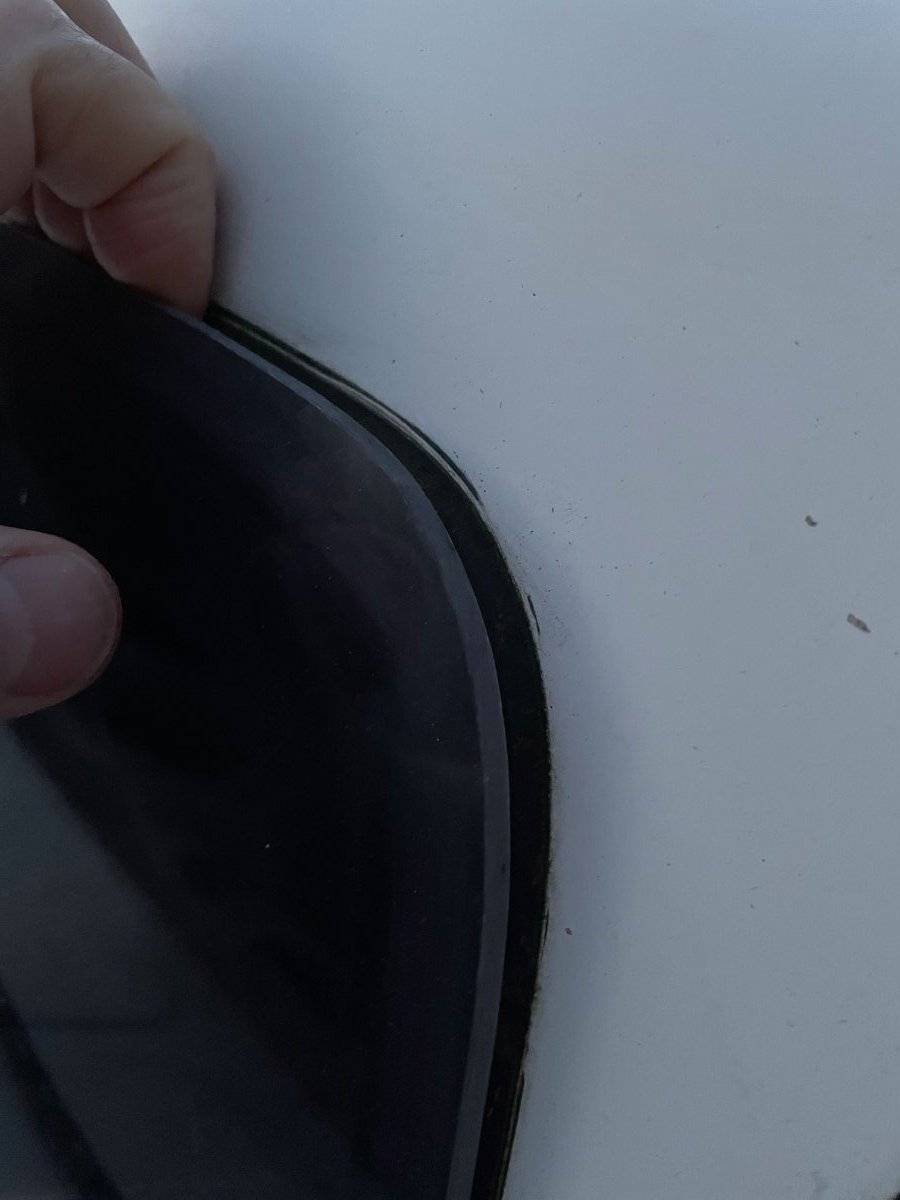
My windows leak, and my boat fills up. The windows were added by a previous owner, they're adhered with some kind of rubber, but it's come loose in several places. I plan to drill holes through the panes and fiberglass, remove the panes, clean the surfaces, apply a sealant, replace the panes and screw bolts through the pane and the fiberglass. Does anyone have feedback on this approach? Could you recommend a sealant? Sikaflex 291 seems to be an option - though it doesn't seem to be recommended for plexiglass ("Sikaflex®-291 must not be used to seal plastics that are prone to stress cracking (e.g. plexiglass, polycarbonate, etc.)"). Is this gonna be a problem? Otherwise a silicon sealant?
Thanks!!
-
3 hours ago, Gappy said:
Yup they are still on special too don't know why you would waste time on a second hand one at that price and a new 5 yr warranty. I have a suzuki bloody love it.
Yup have decided to get suzuki
-
28 minutes ago, Deep Purple said:
I'm impressed with my 6hp Suzuki 4 stroke even though it's .2hp short of the nztya rule. Pushes us at 8 knots full speed and a lot of bite manoeuvring. They had a deal going at $1999 might still. Lightest 6hp 4 stroke
Thanks for the tip. I’m in the shop looking at the 6HP Yamaha 4 Stoke 2014- $1600. It’s in great condition, but up against a brand new Suzuki I’m not sure which to go for.
-
14 minutes ago, Island Time said:
Positioning the outboard low is a risk. Higher and long shaft is safer.
Once, long ago, I had an Alan Wright Pacer (24ft) trailer yacht. In cook strait, in strong conditions, trying to get into Tory Channel, several times the outboard was completely immersed by following seas - I would not have wanted one mounted any lower! Yes, fortunately it kept going! It was a long shaft mariner. Also, as the motor is mounted right aft, they are prone to lifting props out of the water when choppy.....
Thanks for your comments. Any advice on the motor size?
-
Thanks for the comments. Great to see the divergent opinions on whether to replace! I think I'd like to upgrade, eventually to do a Cook Straight crossing without freaking out.
I’m looking at 2 outboards now - 2 stroke Mercury 1995 8HP Short Shaft $500, or 4 stroke Yamaha, long shaft, 6HP, 2015, $1600. Any votes for either of these?
-
On 6/05/2021 at 3:34 PM, Steve Pope said:
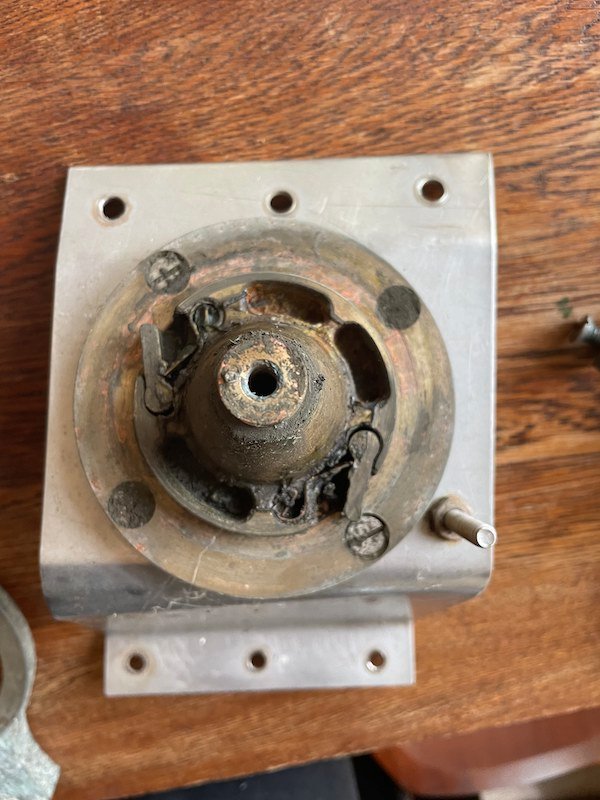
What you have are one of the better winches made in NZ. Yes they are old tech, but if serviced occasionally they will do another 30 years. Plus no cleats to add if you replaced them with a non self tailing winch. On a Tasman 20 they will cope with anything you can throw at them. A good scrub and "polish" will show them in another light altogether.
Excellent advice all around. I'm now restoring them, and yup, they're pretty simple, and full of dirt. I can see the the palls are quite worn. Does anyone know the brand of winch, or any palls that may be available that would fit?
-
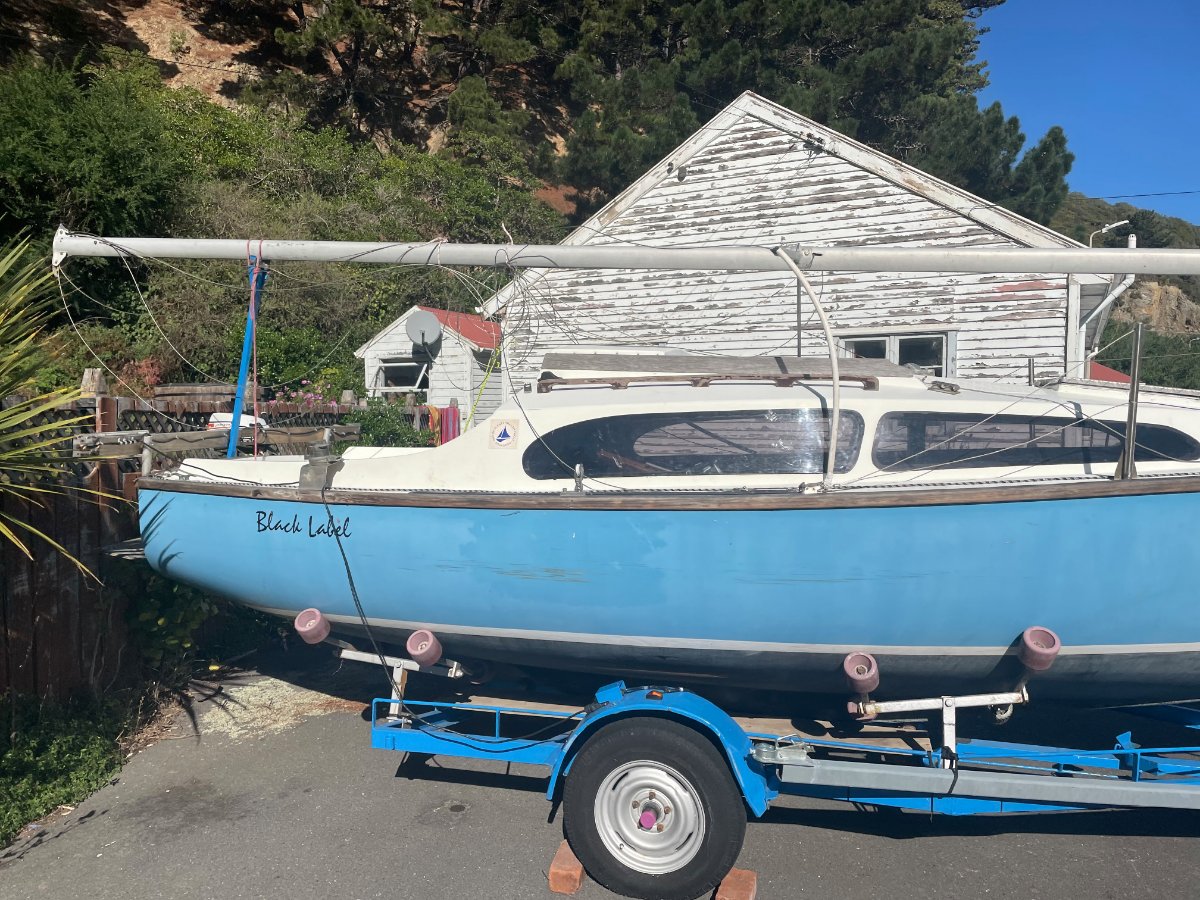
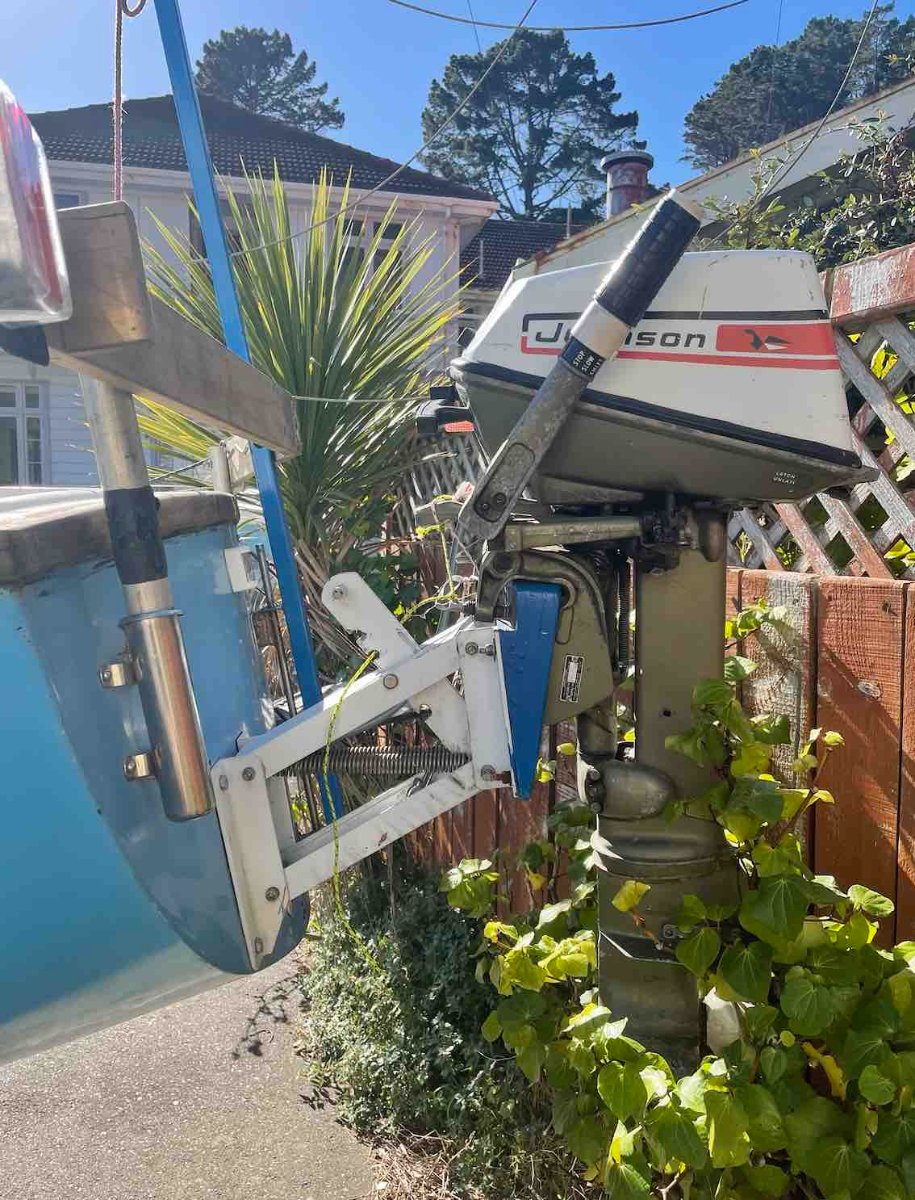
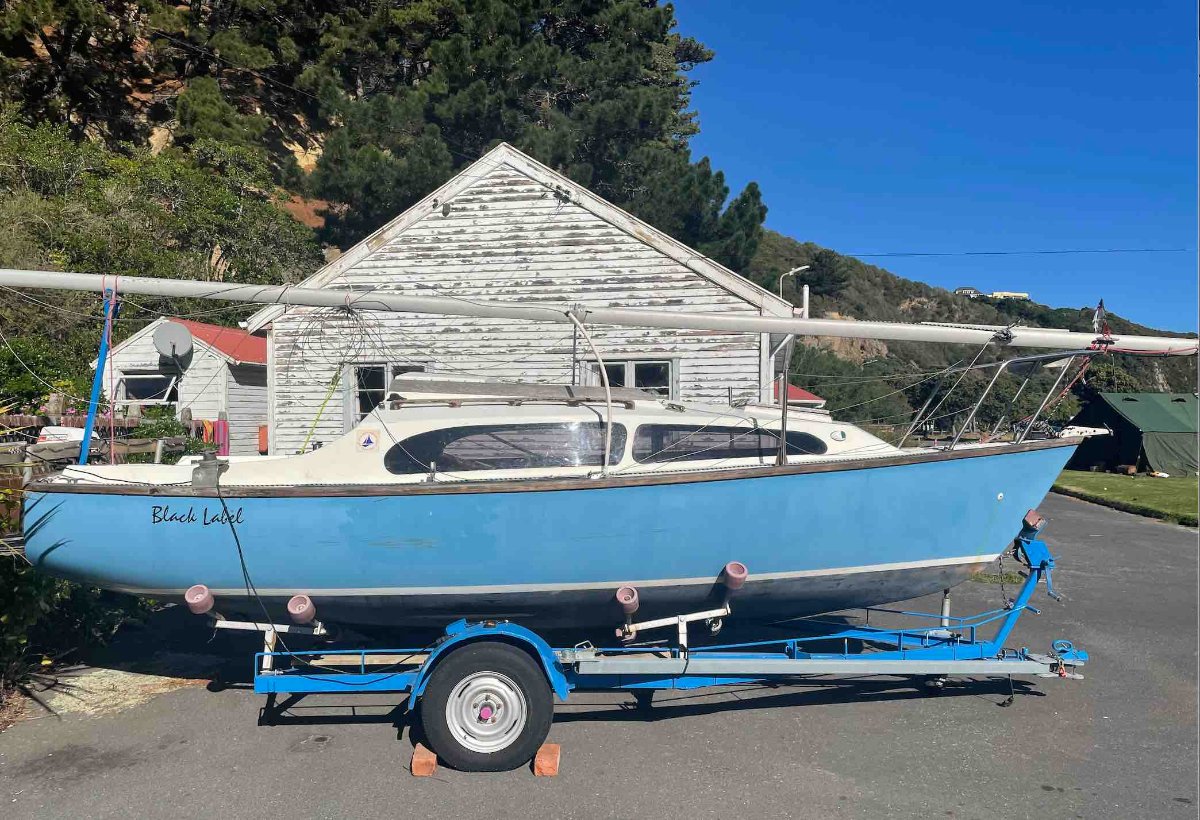
Hi,
I need to replace the outboard for a more reliable one on my 20" trailer sailor. This is a 1974 6HP Johnson short shaft. Would I be advised to go to a long shaft? I'm in Wellington where it is quite windy - what size outboard should I have?
-
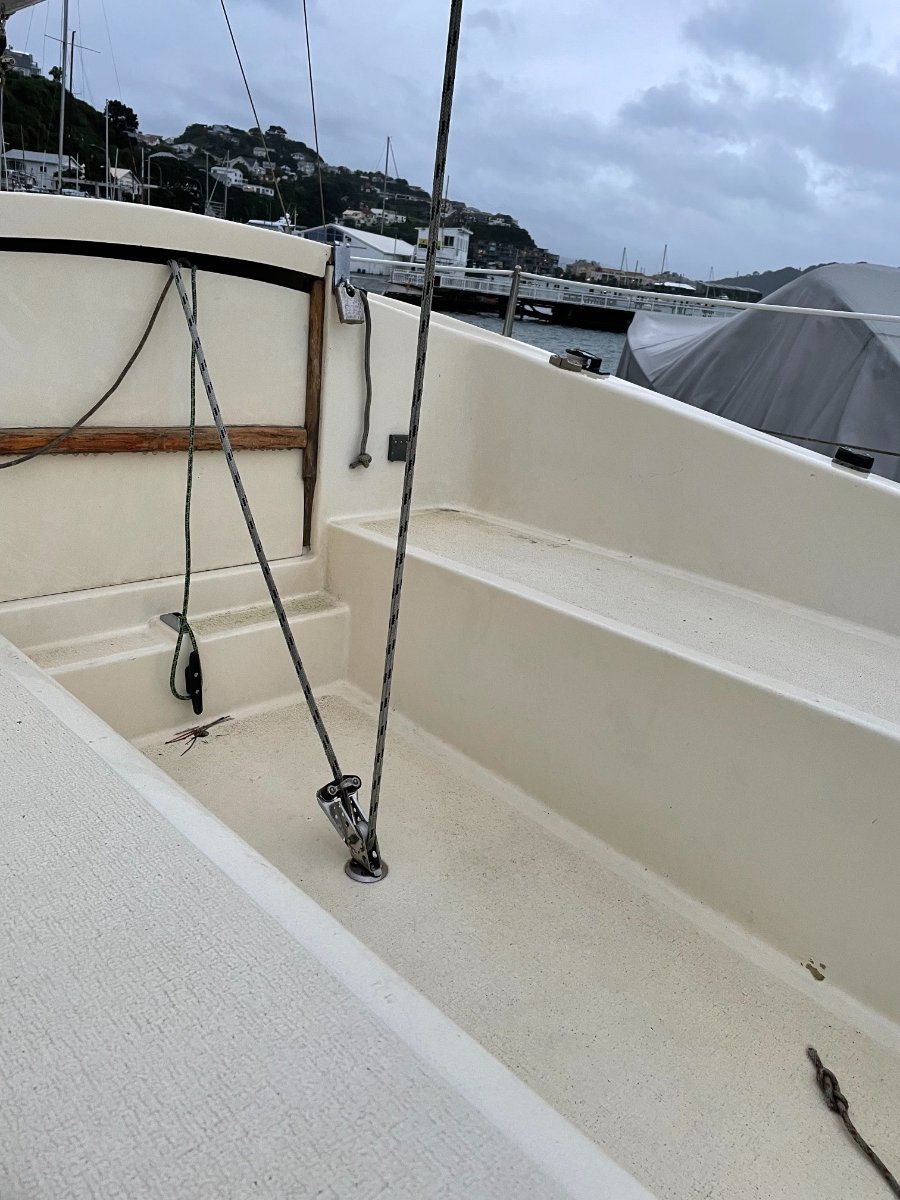
I have a Tasman 20 with the original winches and I'd like to replace them. Does anyone have suggestions of what to use? Self-tailing seem to be pretty expensive (possibly more than the boat), so looking at more the 200 each kinda range. Second-hand would be considered too.
Also, what type of cleat should I pair with this? Planning on attaching at location of arrow.
I'm quite new to sailing so I appreciate the advice.


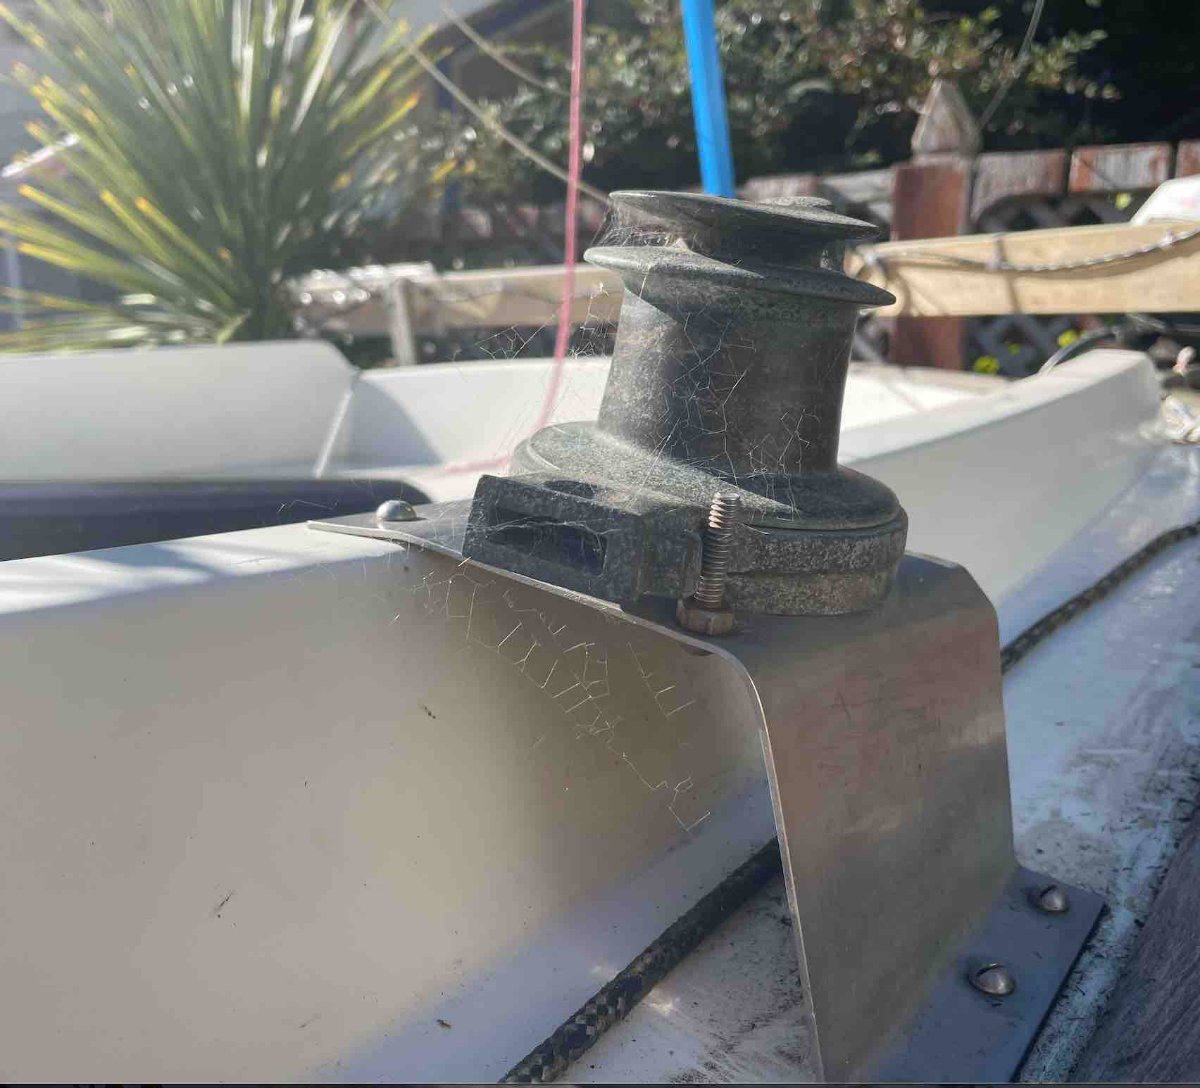
Trouble cleating on Tasman 20 due to high winches!
in TechTalk
Posted
Yea, though wouldn’t be able to get the winch arm in. Thinking about raising the cleats up somehow